
“Grinder and paint make me the welder I ain’t”
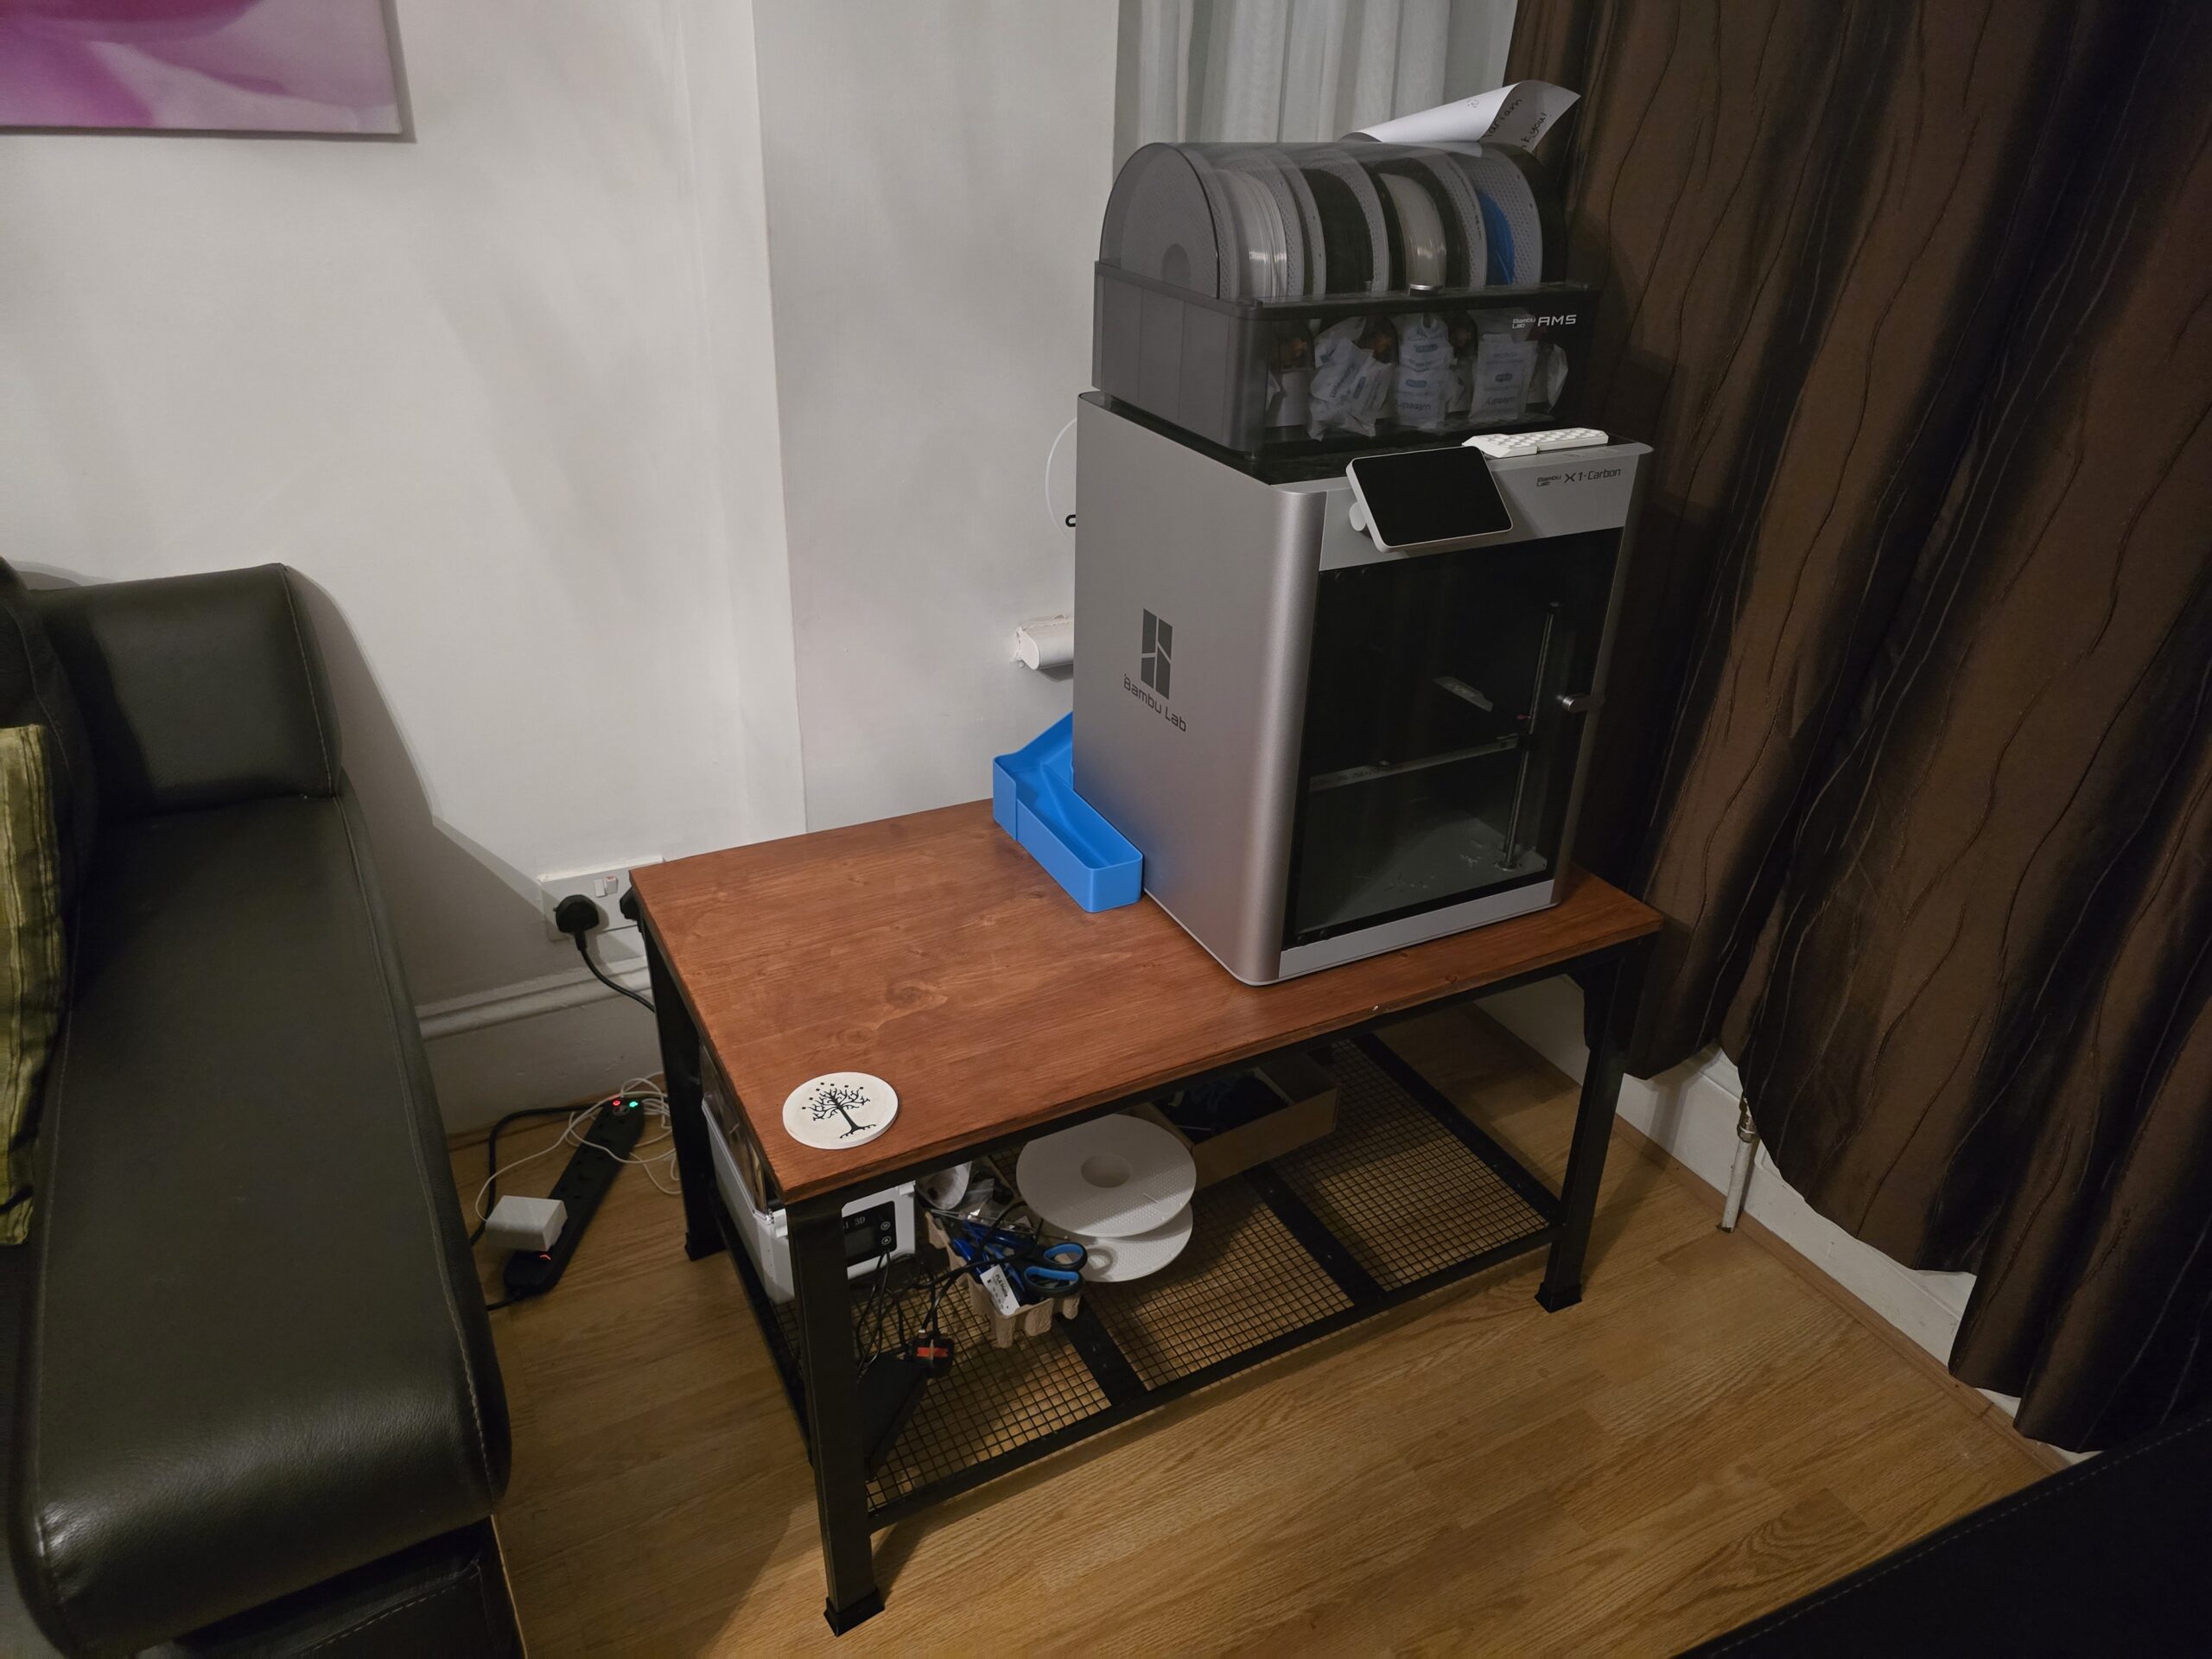
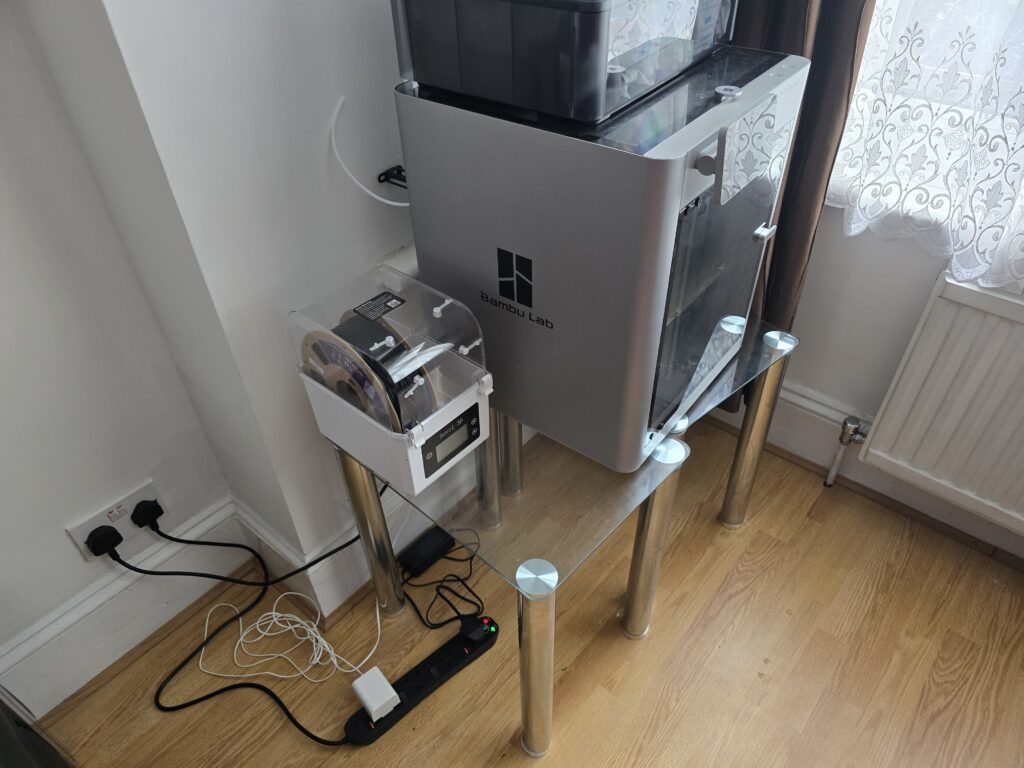
A couple of weeks ago, I attended a MIG welding class at the London Sculpture Workshop. Wanting to put my new skills to use, I decided to make a new table for my 3D printer. The printer is currently perched (very precariously) across 2 tiny, rickety glass tables that shake alarmingly whenever I use my Bambu. Plus I wanted some storage for all of my printing paraphernalia, I also wanted the table to look nice as my printer is currently in the living room – I don’t want it to look like a rough work bench but a nice coffee table that blends in with the aesthetic of the room.
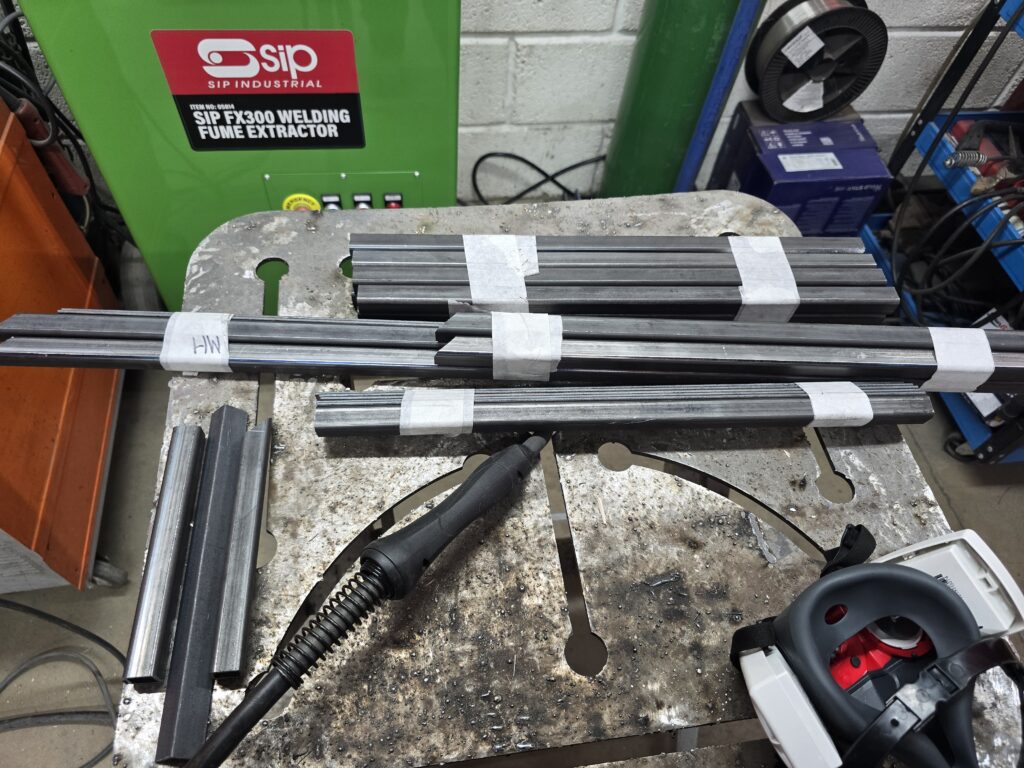
I decided I would buy the steel from FH Brundle so perused their catalogue to find what section dimensions I could use in my design (and that were the cheapest!). I modelled the table in Autodesk Fusion and drew up a cutting list.
And then to the workshop! I cut all of my metal to size using a metal bandsaw and used a circular saw to cut my piece of plywood to size. The plywood I bought was not the best quality; it splintered a bit, so I spent some time sanding it down and easing edges.
Time to weld! My mode of attack was first tack welding and then back step welding for long runs.
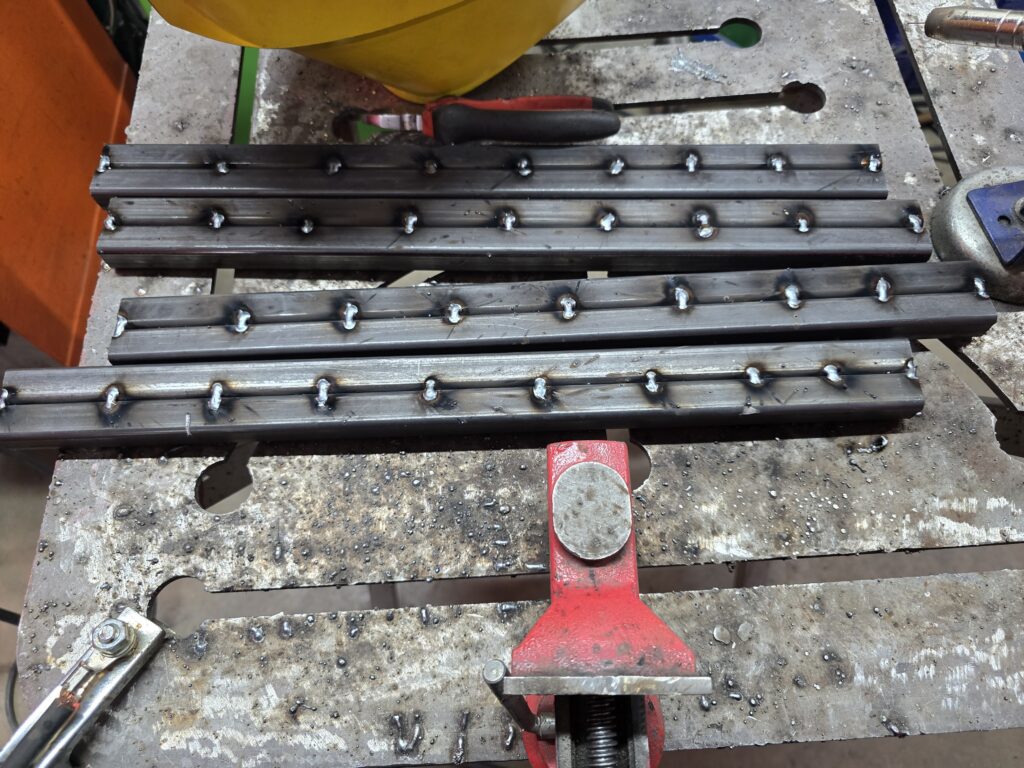
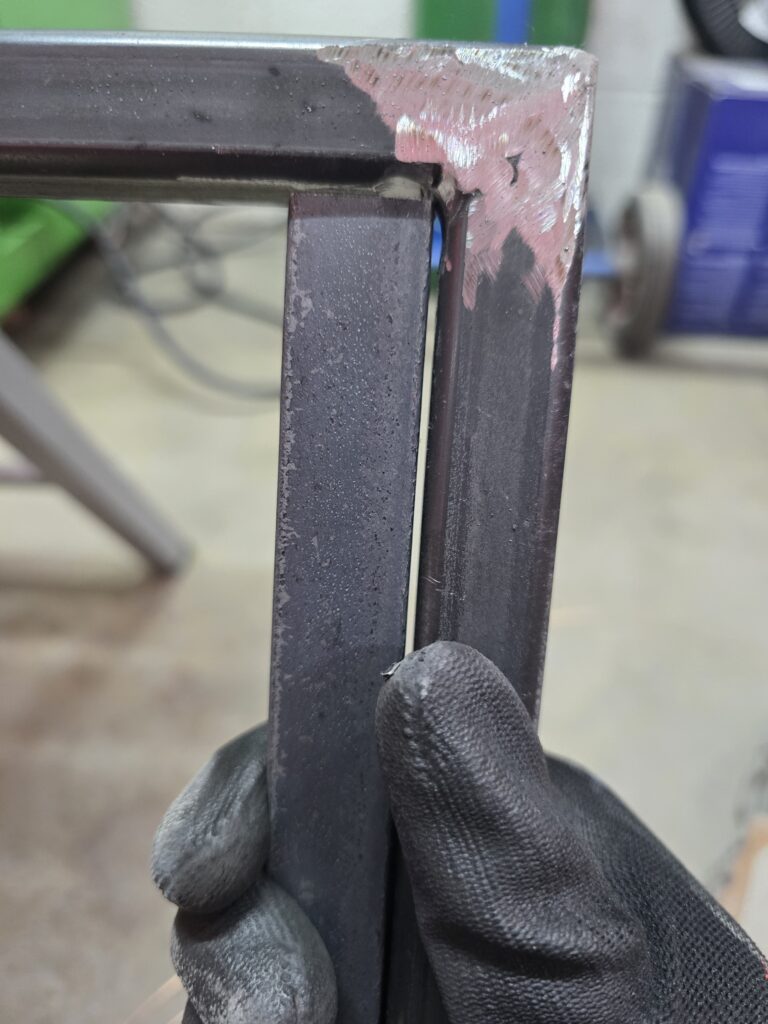
I thought I would save some time not cleaning off the mill scale… which turned into spending a lot of time grinding to get rid of the spatter.
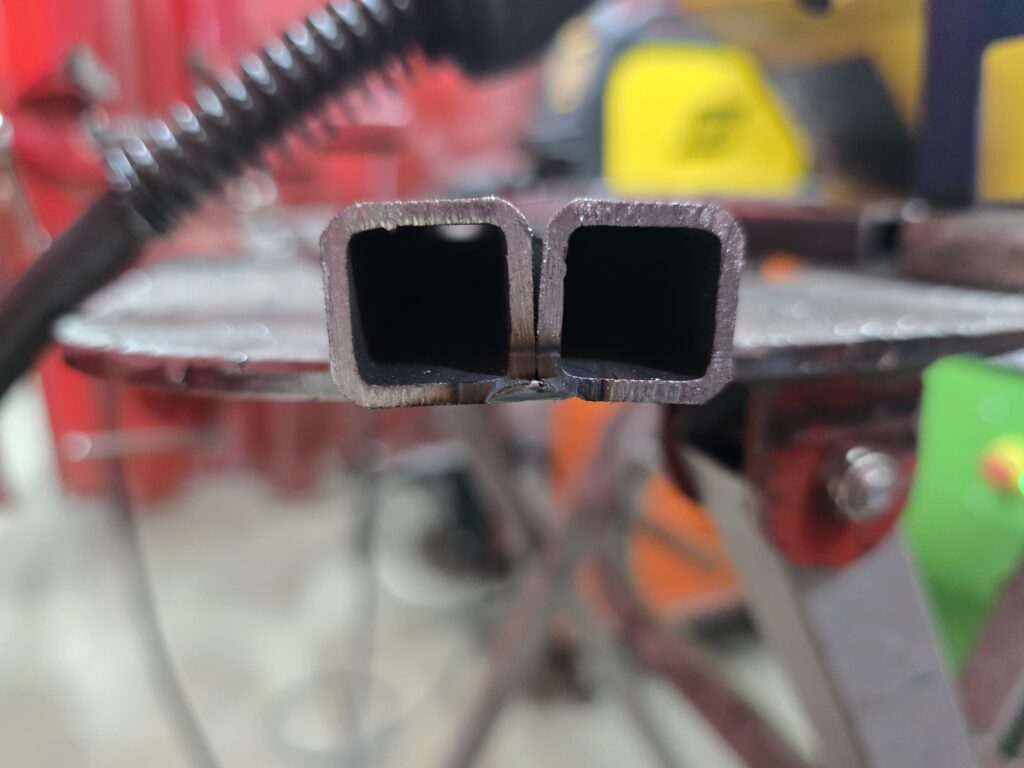
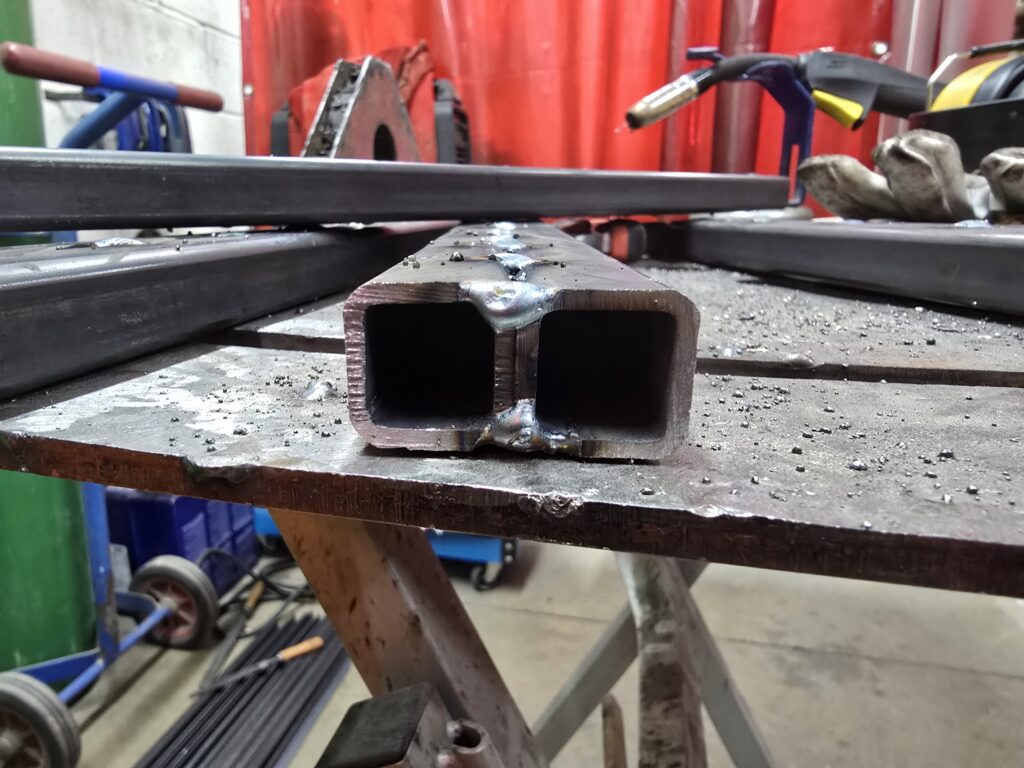
I tried to do slow straight beads to fill in the butt joints but this overheated + distorted the metal and didn’t fill in the joint thoroughly. I switched to multiple passes of beads waving back and forth across the joint. Tried to keep distortion to a minimum by clamping and switching around to avoid a build up in heat. I love it when you weld one side and it distorts but then do the other side and it redistorts back to its original shape – welding magic!
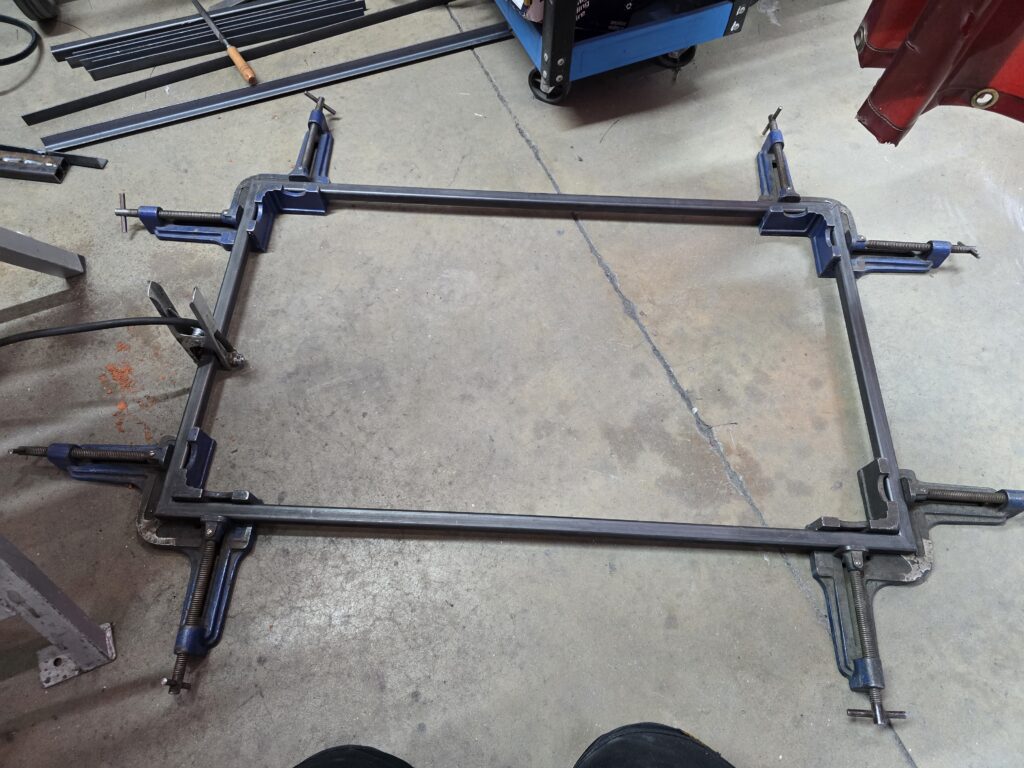
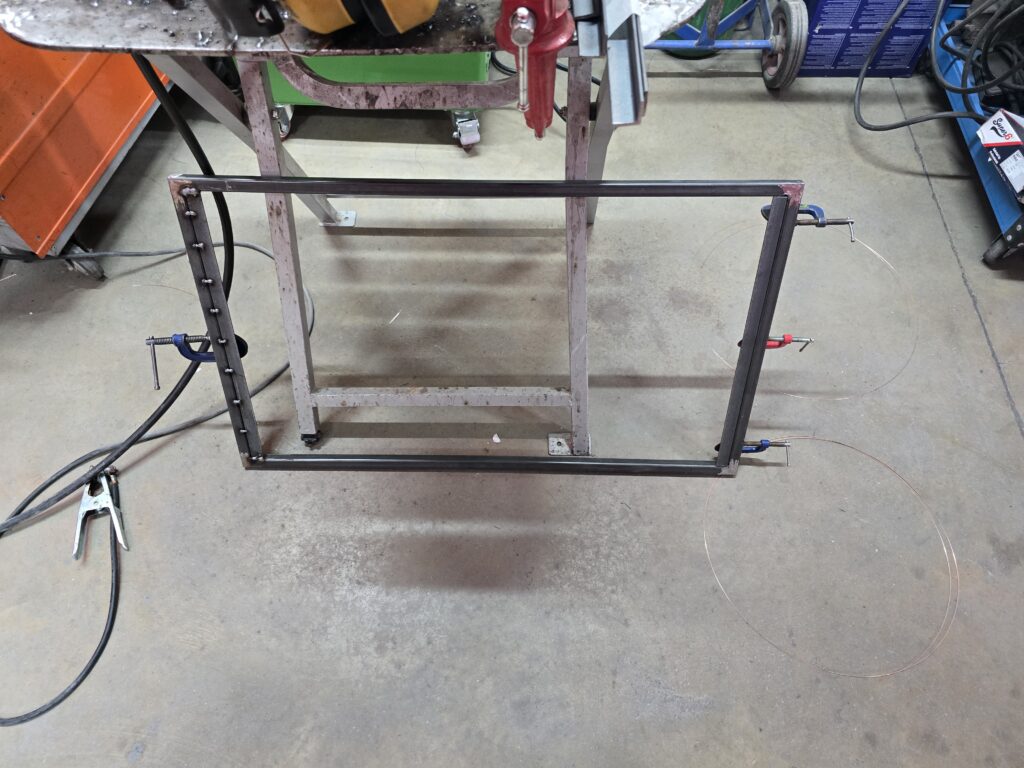
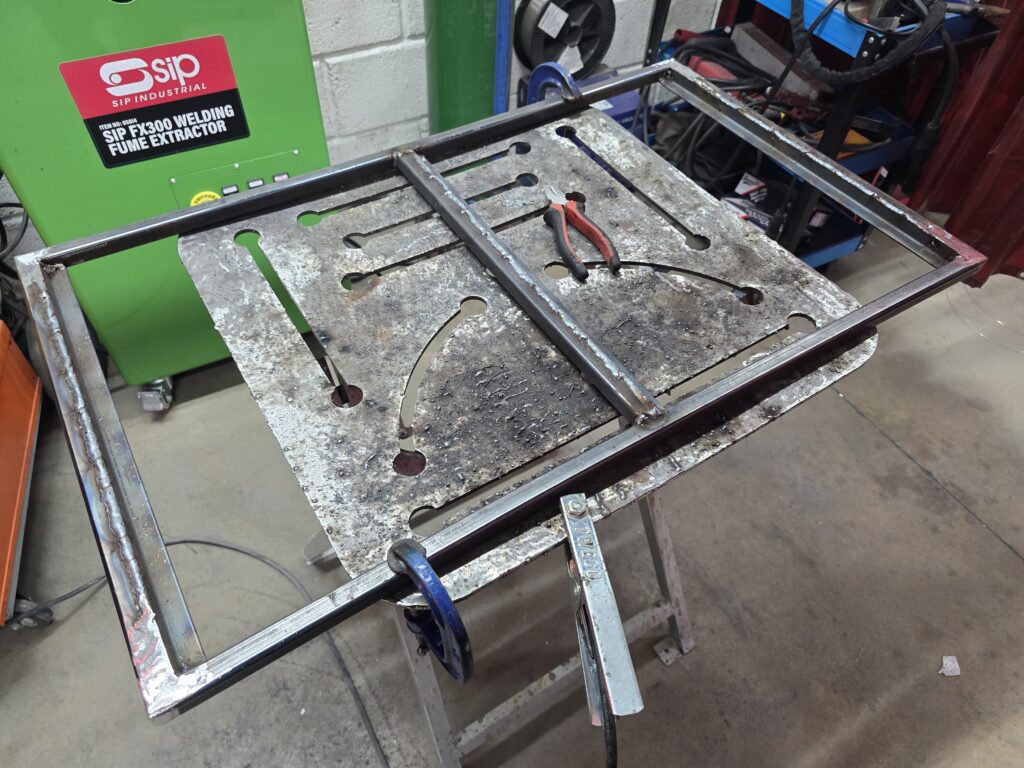
I used corner clamps when assembling the top of the table to try and get the pieces level. I didn’t know how successful this was going to be because nothing was perfectly flat in the workshop – not the floor or the fixture table.
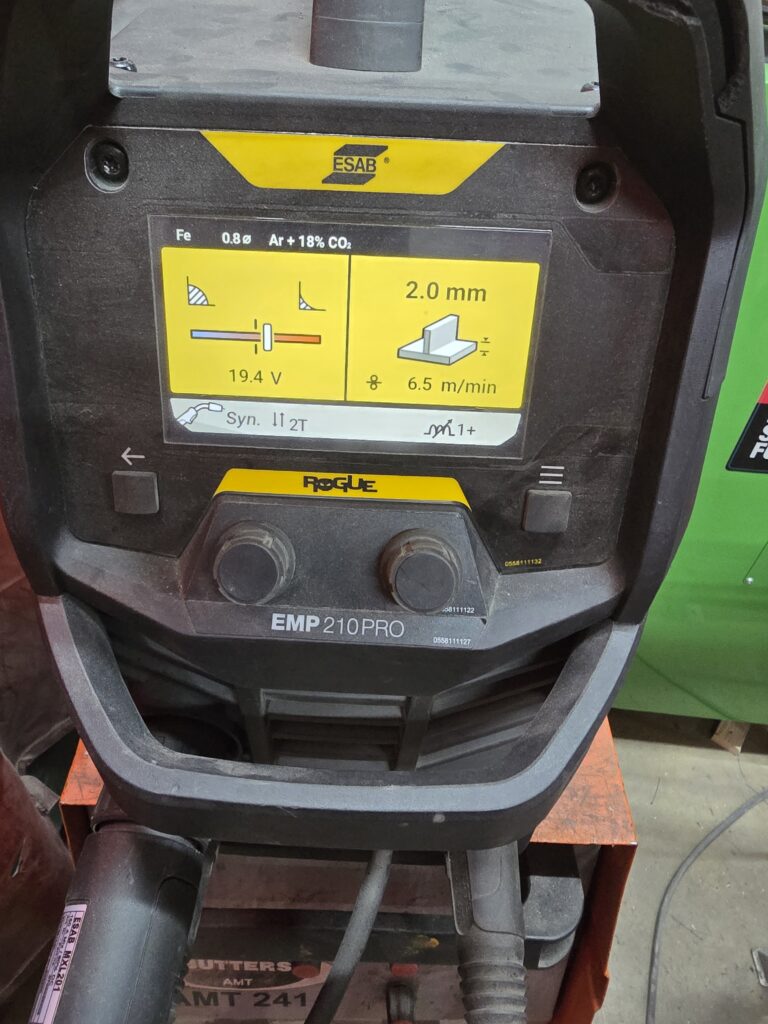
Always record your welding machine settings!
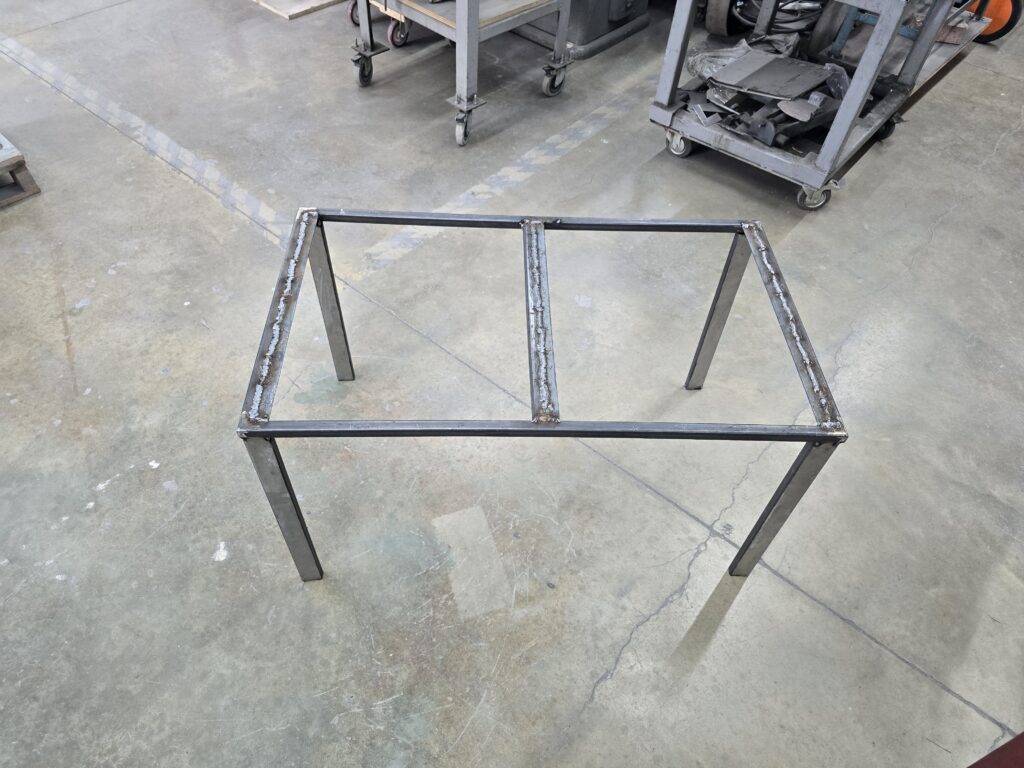
I struggled with welding the legs on, I should have asked for help because I just held the leg as perpendicular as possible in one hand and tack welded with the other because I couldn’t figure out how to clamp it all together. Tried to use a level and engineers square to get it all as square as possible but the legs were pretty out of shape unfortunately. Hammering them didn’t really help.
I also went a bit overboard with the welding e.g. I didn’t really need to weld inside corners, just made it difficult to fit in the bars for the bolt holes. I used a pneumatic die grinder to file the welds down but next time I’d be more judicious about where I’m welding.
Welded the mesh, even after adjusting my settings way down, the wires kept melting! Aimed for where the wires crossed instead. I really wish I had welded the mesh on the underside rather than the top where the welds are more visible.
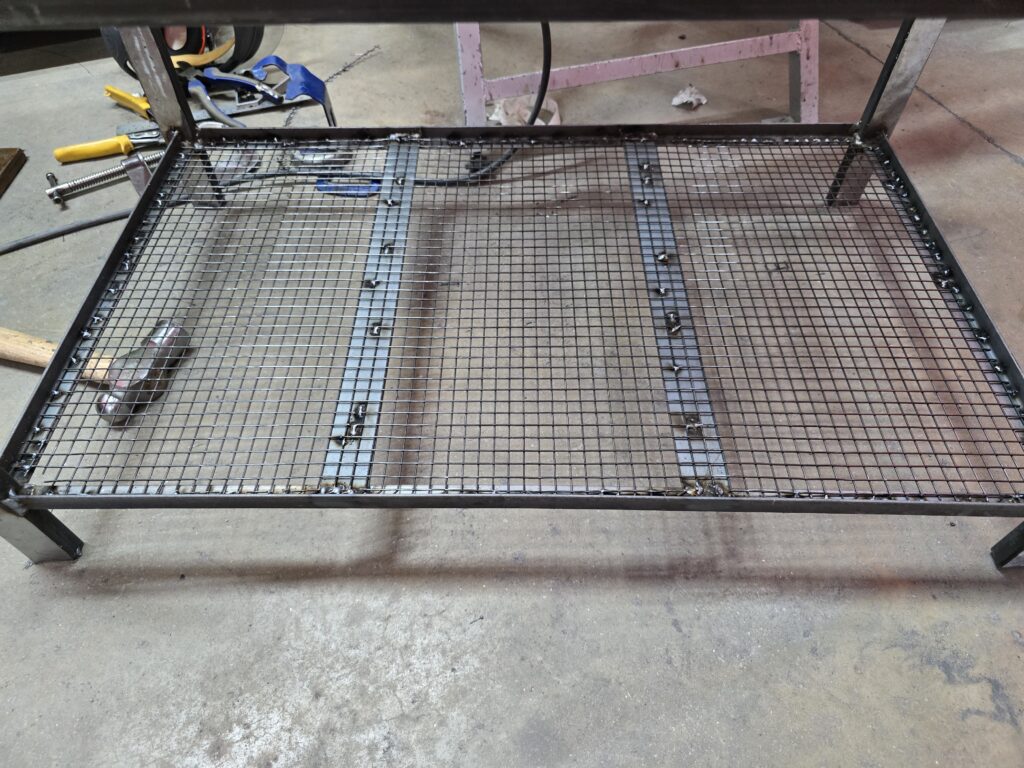
Occasionally I had to fill in gaps by building up welds – I found this process quite fun and satisfying.
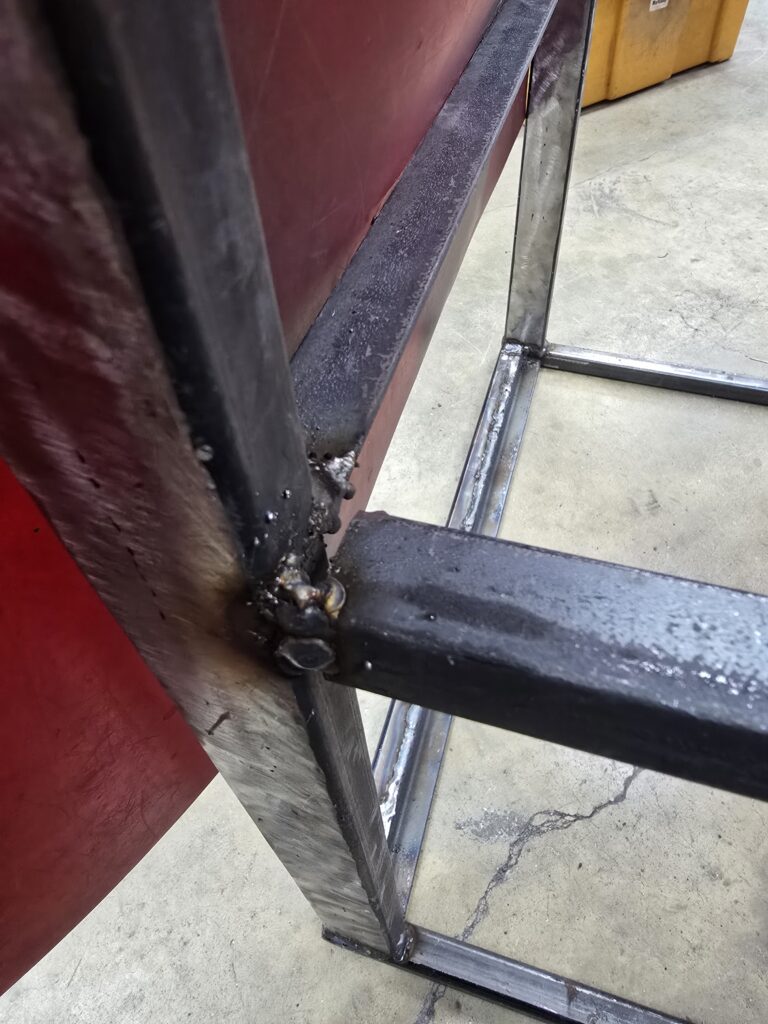
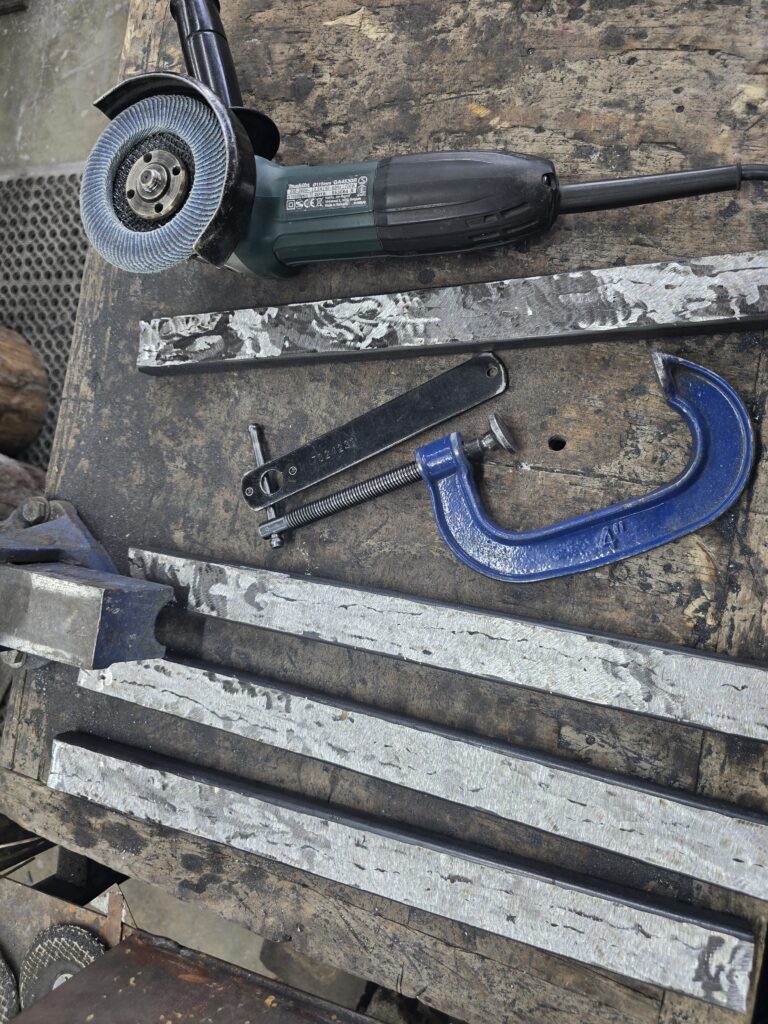
There was a lot of grinding to do because of the spatter and my beginner welds. My hands started to shake a lot and hurt so I got anti vibration gloves, tried not to grip too tight and was very strict about taking a break every 20 mins. Lots of grinding = not fun.
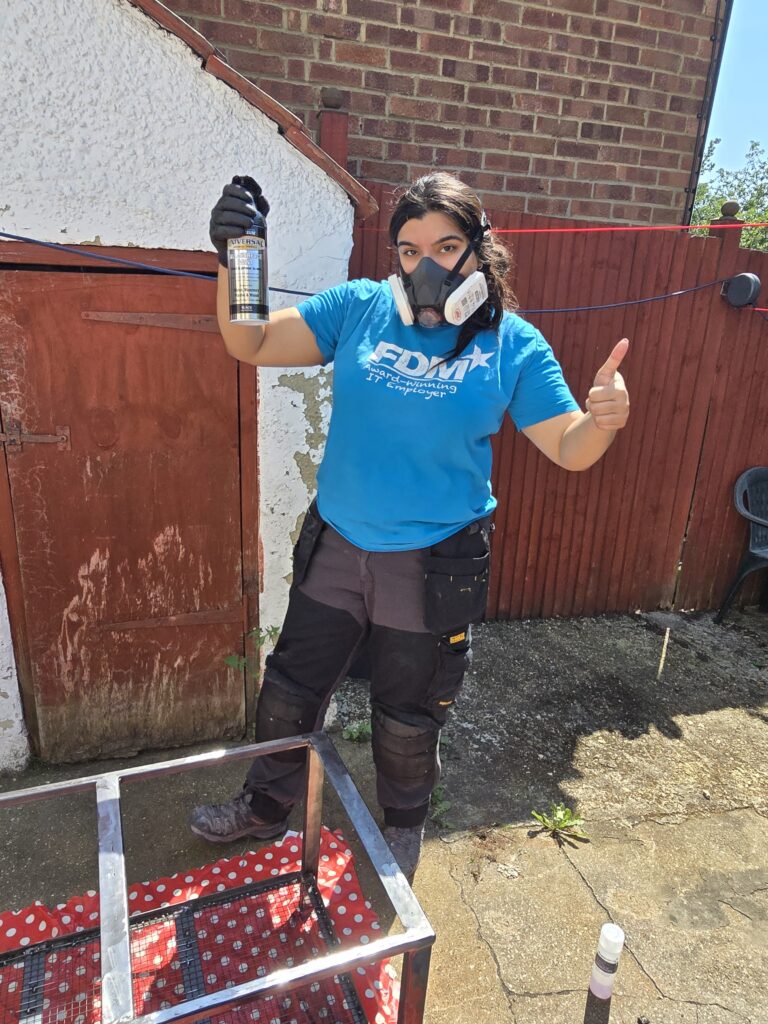
I cleaned up the whole table with a flap disk in preparation for painting.
Spray painting black with Rustoleum all surface black semi gloss. I picked this spray paint because I didn’t need a separate primer which saved a bit of time. Made sure to wear a mask.
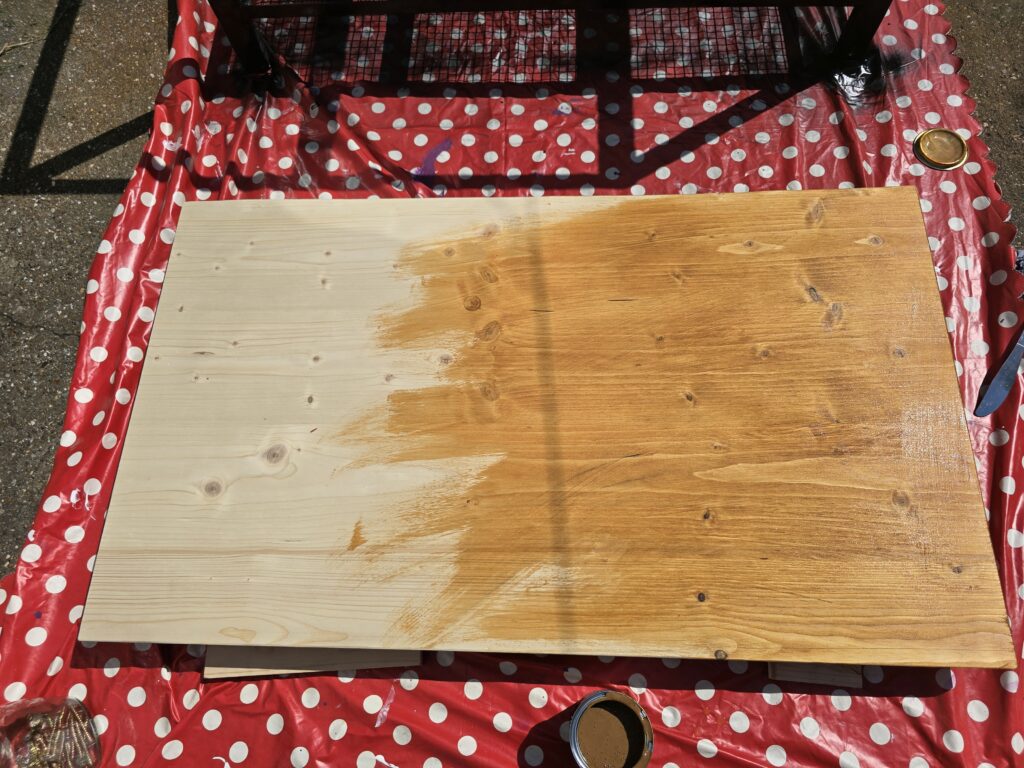
Staining – didn’t take long but made a big difference. Surprised at how well this very cheap and knotty plywood took the stain and looked after!
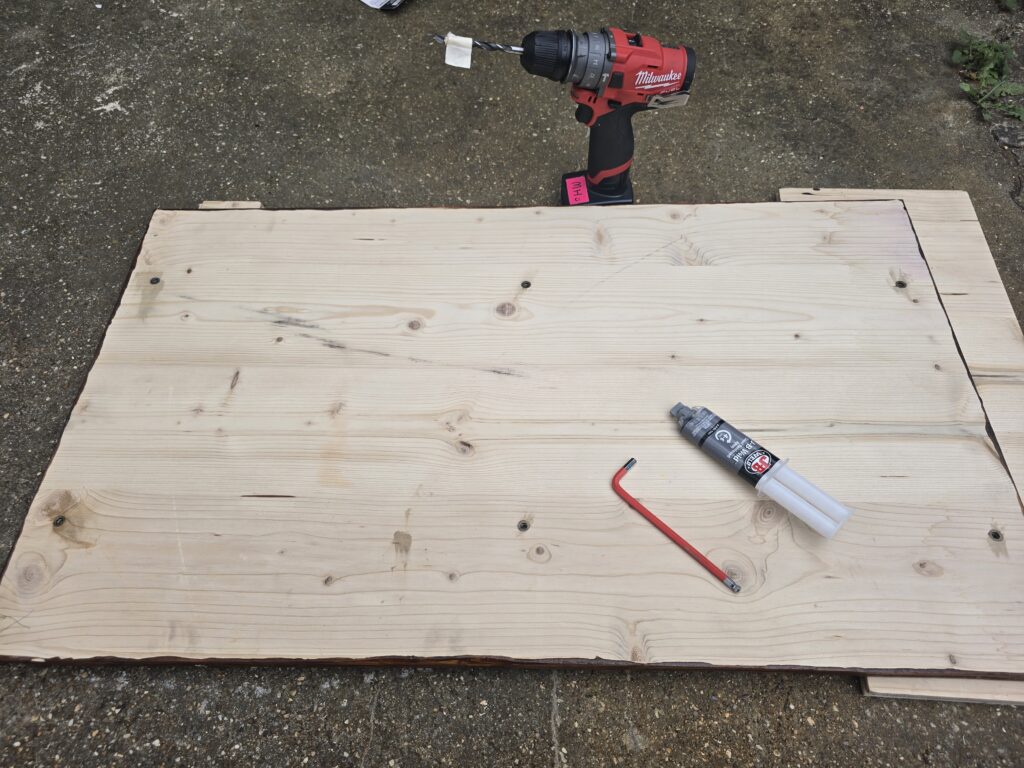
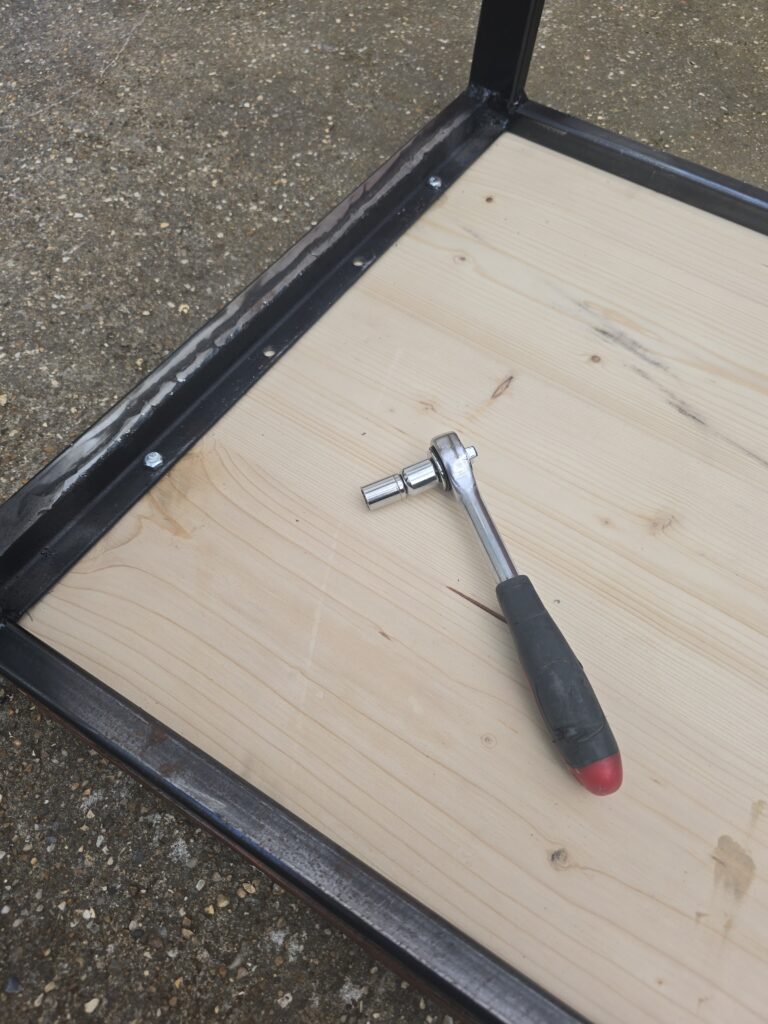
Drilled clearance holes in the top of the metal table frame – don’t know why I drilled so many holes. In the end I only used 6 of them. Epoxied inserts into the wooden table top and then used bolts to secure everything together. Why bolts+inserts rather than screws+washers? I just felt like it would be stronger, and able to take it apart easier in the future if I needed to.
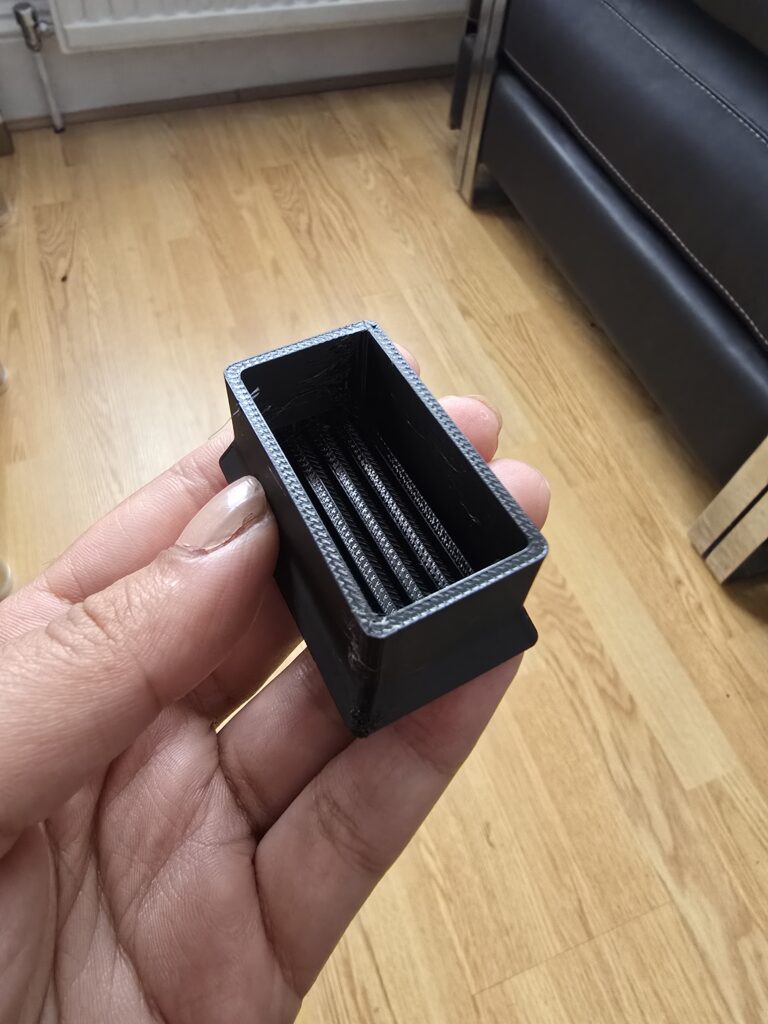
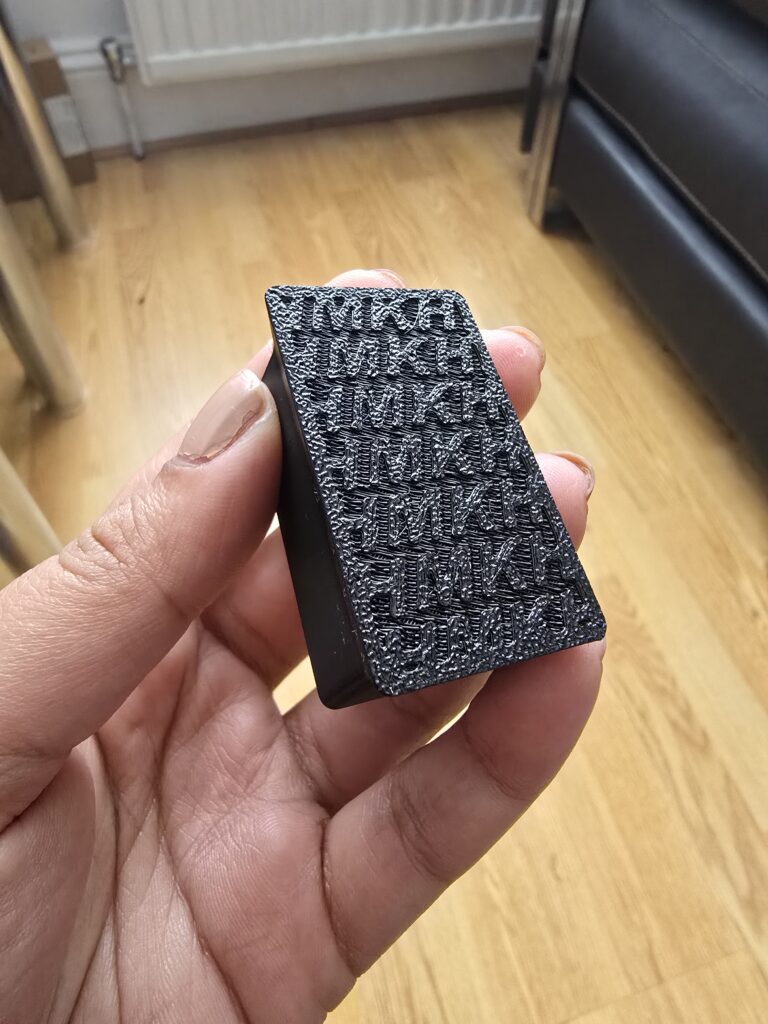
I modelled and printed some feet for the table in TPU. This was the first time I had ever printed with TPU and it went surprisingly well. I feared that there would be a jam but it went pretty smoothly. Check out the custom grip I gave the feet – my initials! To one of the feet, I added some internal height so the whole table was level as it was pretty wobbly because of my problems with welding the legs straight.
The finished table!
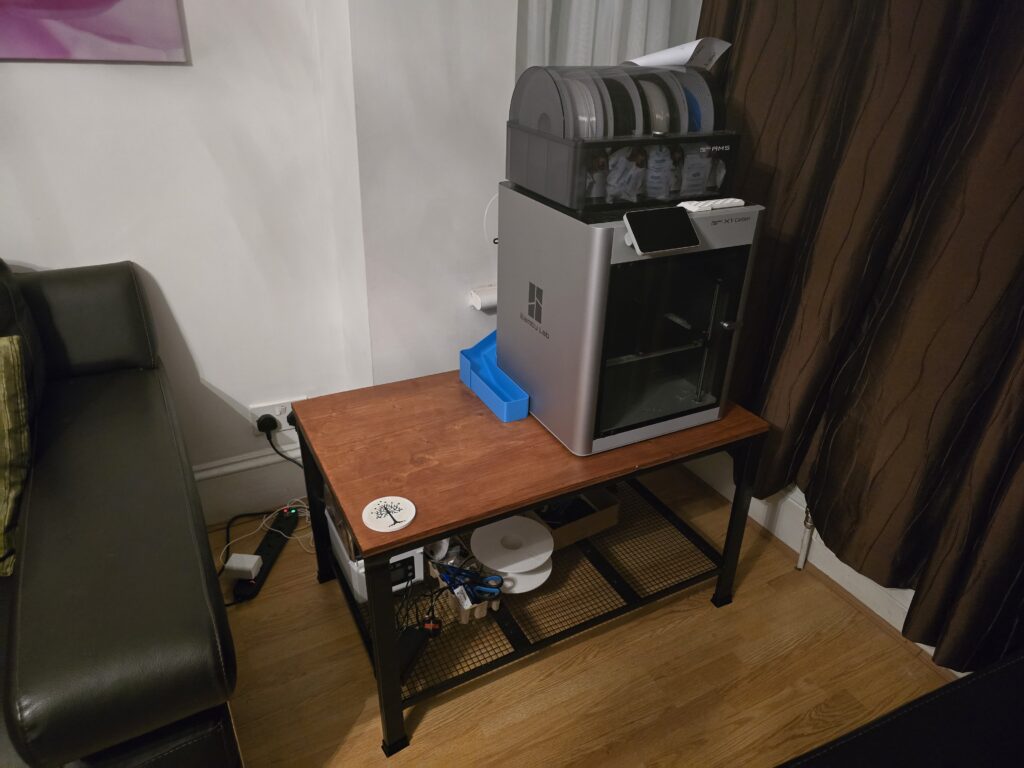
Really pleased with the project overall, there’s something so satisfying about modeling something on the computer and it existing in real life just as you’d imagined on the screen. There’s so much more space to store stuff and it looks really elegant in the room. I made a lot of mistakes and consequently learnt a lot from my first project – excited to get on with my next project – maybe a TIG welding one? Hmmmm….