
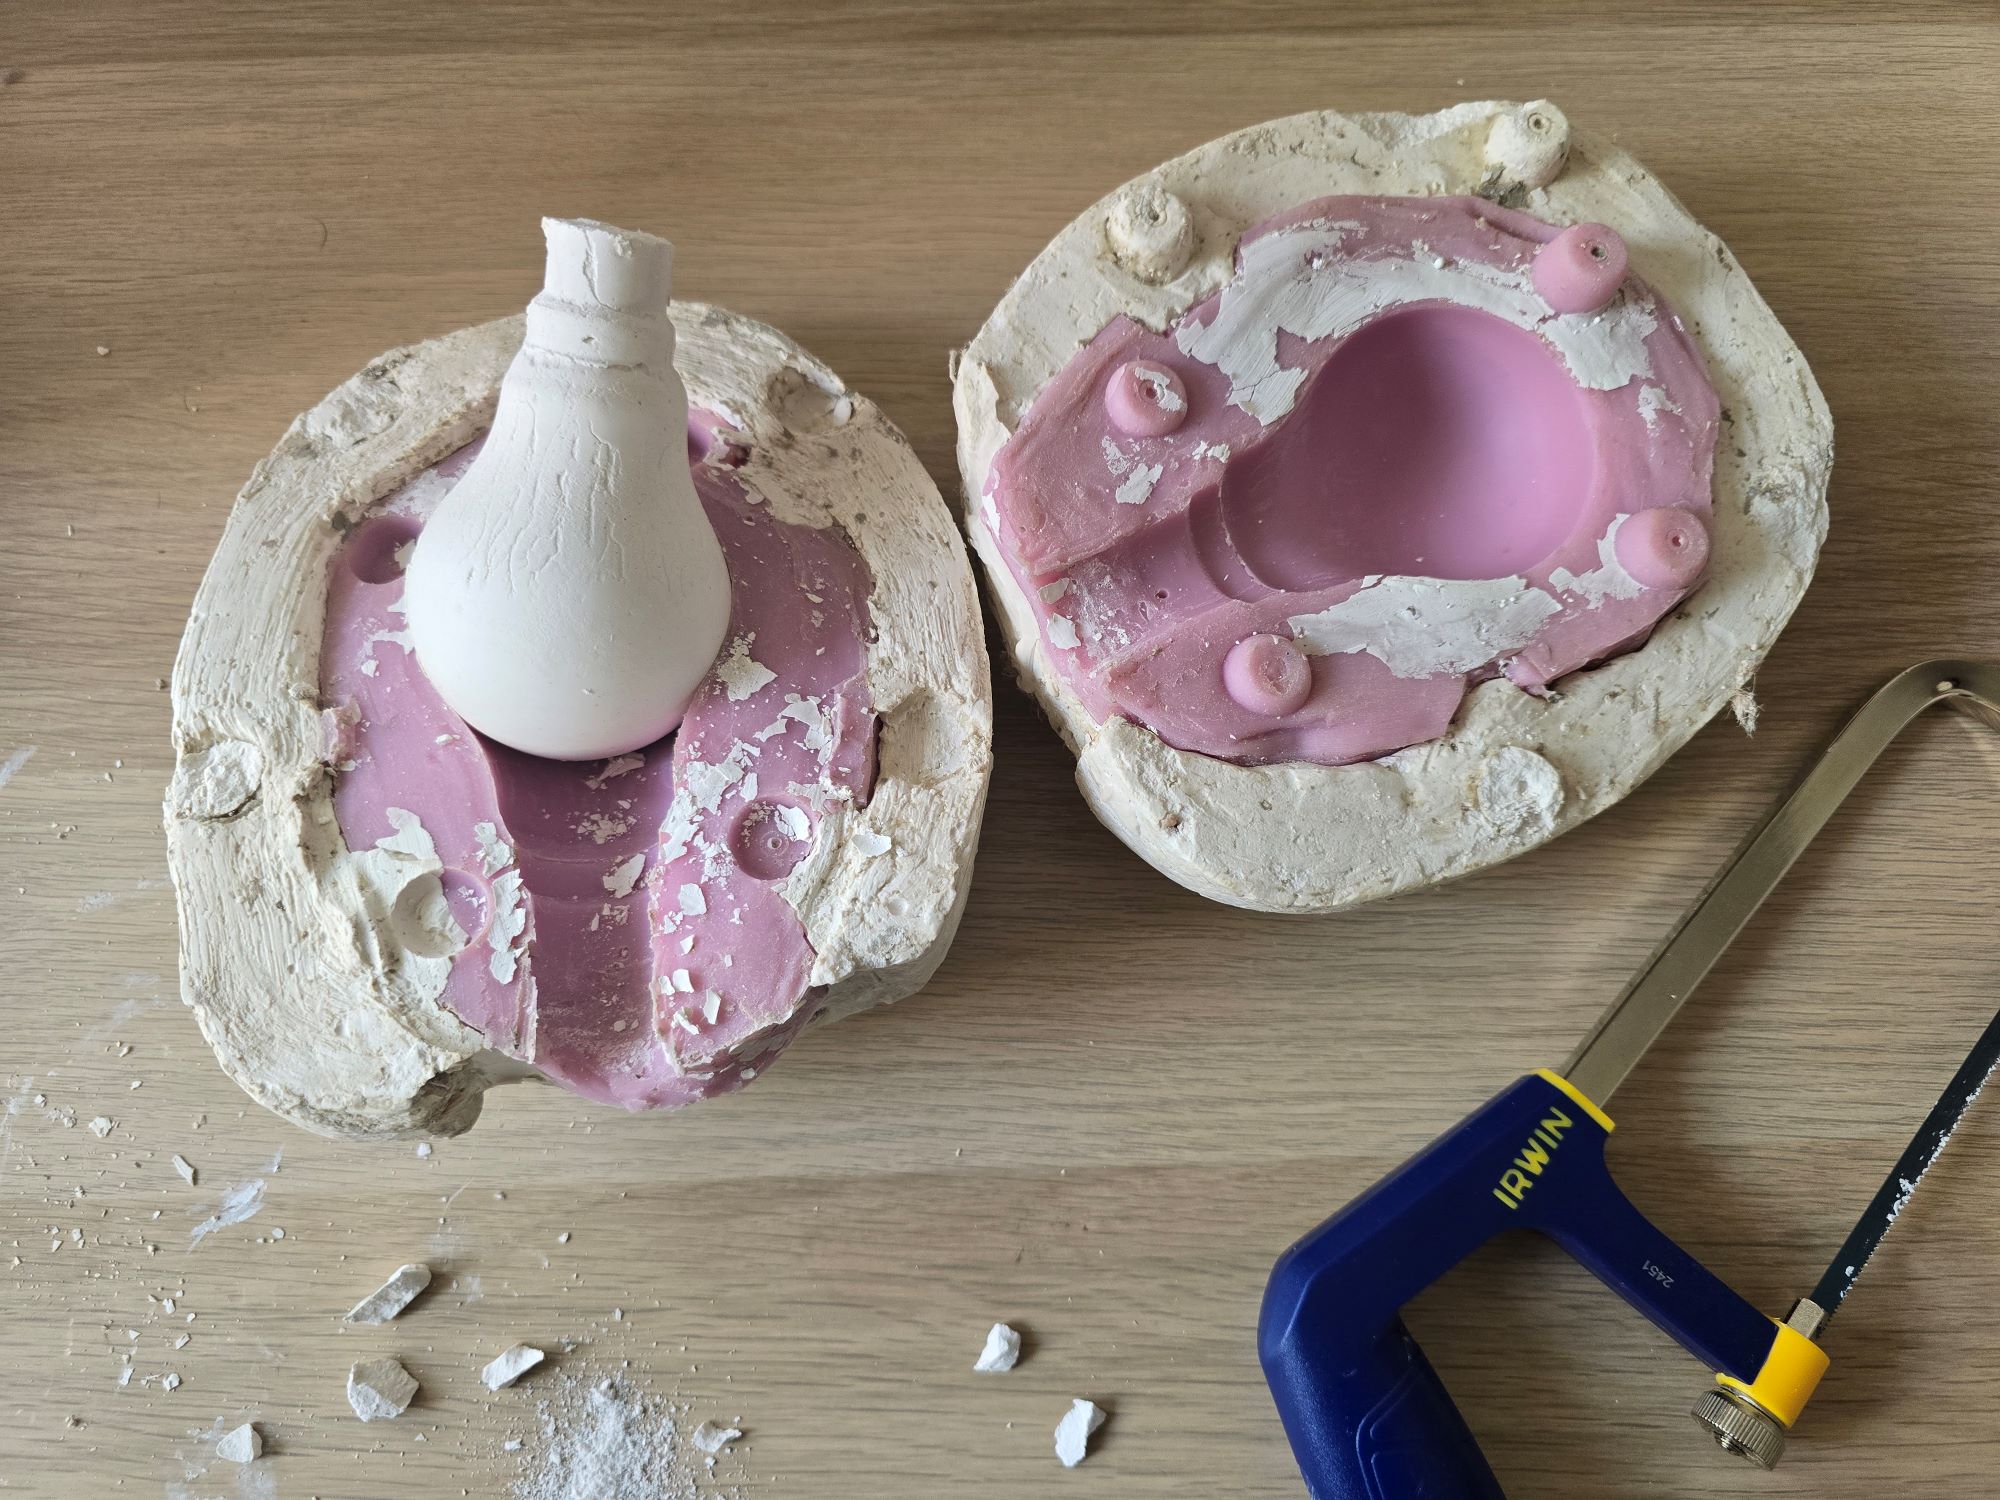
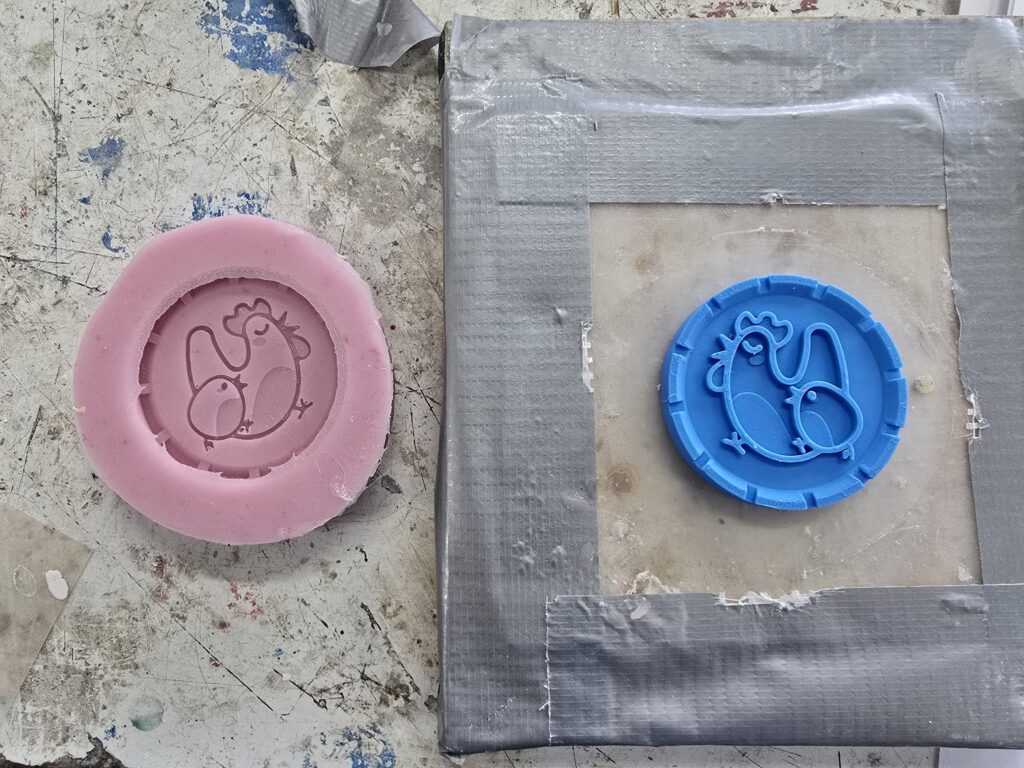
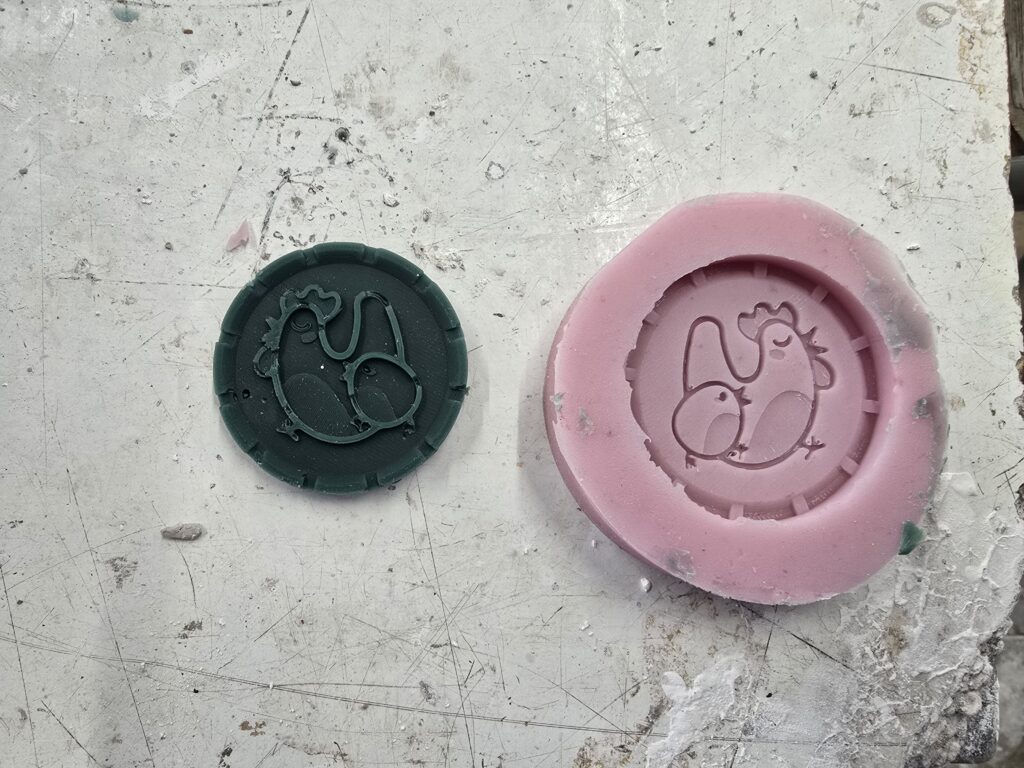
I attended a silicone mould making workshop at the London Sculpture Workshop. I chose two objects to mould. A novelty coin I designed and 3D printed (1 part mould) and a lightbulb (2 part silicone mould with a plaster jacket). Making the coin mould was very easy. However when I made a wax cast there were a few air bubbles and missing details – so there’s still a ways to go in exploring finessing my silicone moulds. The logo on the coin is my brother’s Steam account profile pic, so for his birthday I will be making a food safe silicone mould of the same coin and making chocolate coins!
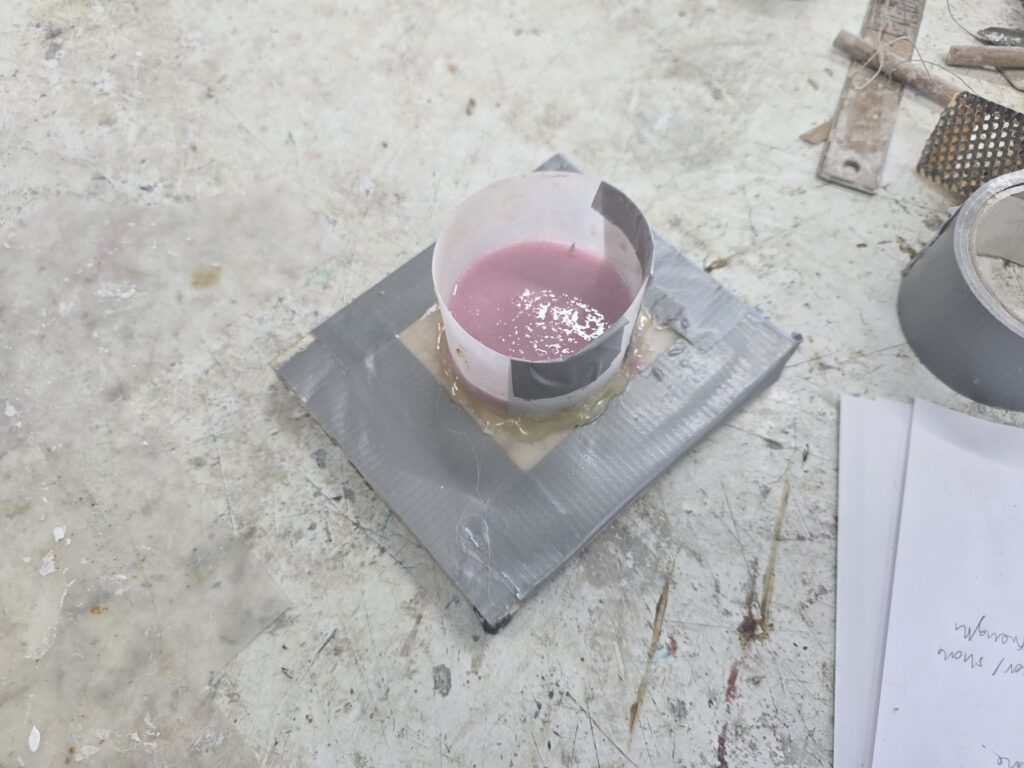
The lightbulb was a more complex process but still fairly easy. I enjoyed using the clay to make the walls, the whole process was very hands on and practical – I assumed it would just be mixing up chemicals, pouring and that’s it. I’ve never used plaster before as well, I used a low grade plaster with hessian to create the plaster jacket and a fine casting plaster to create the cast.
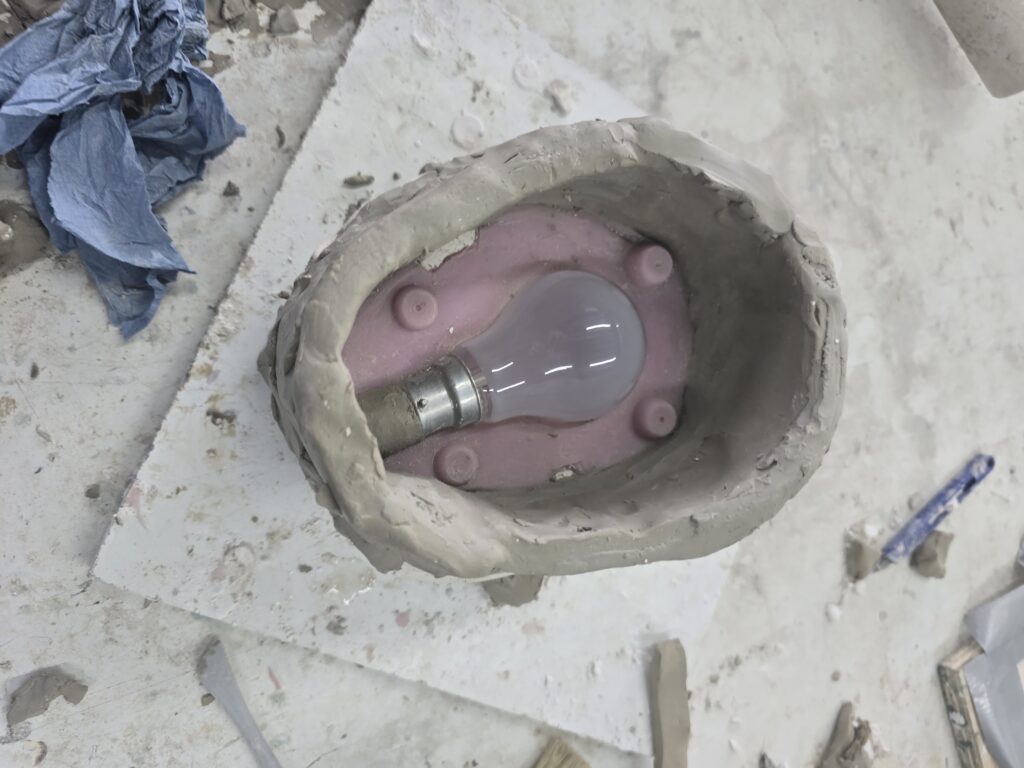
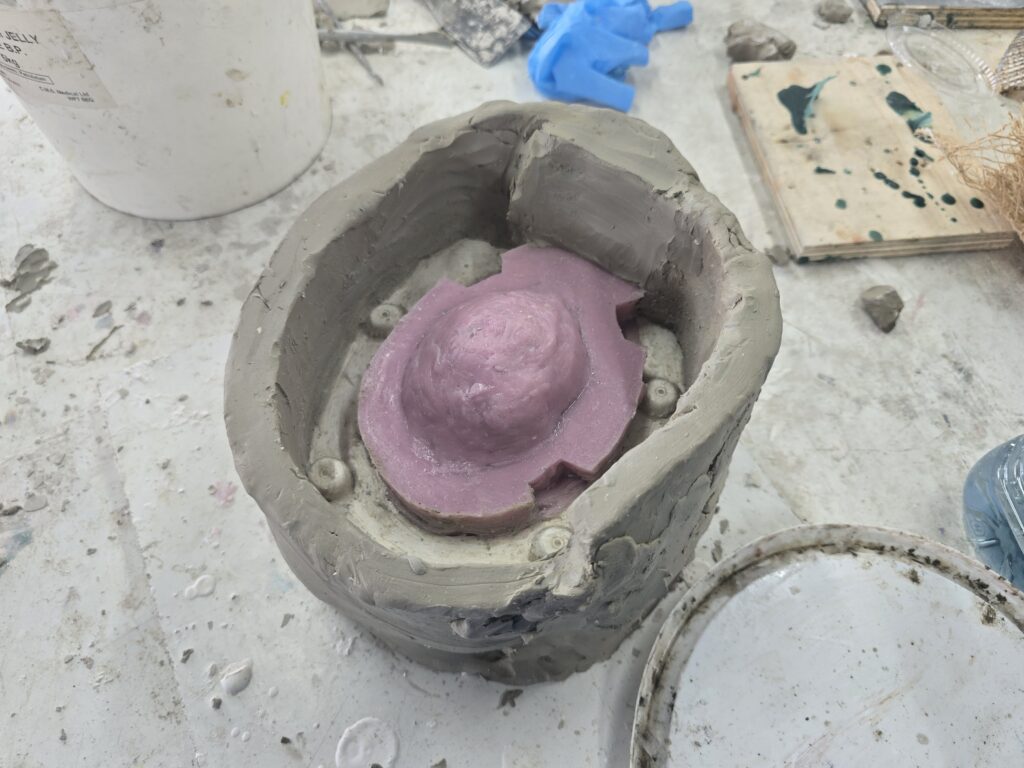
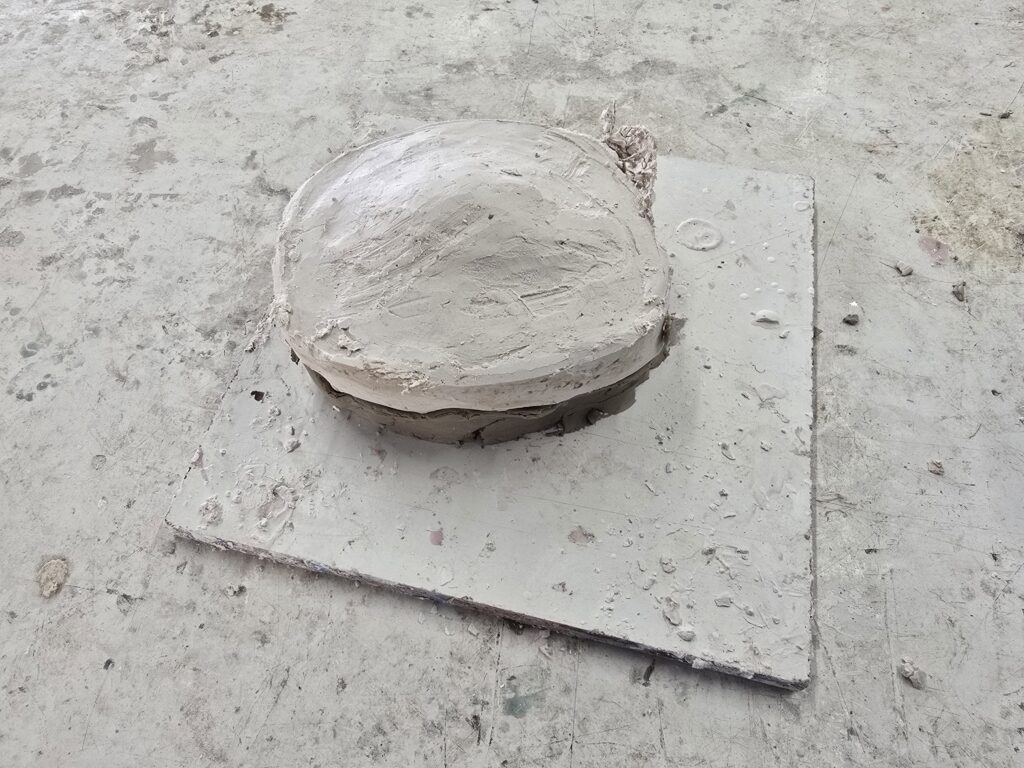
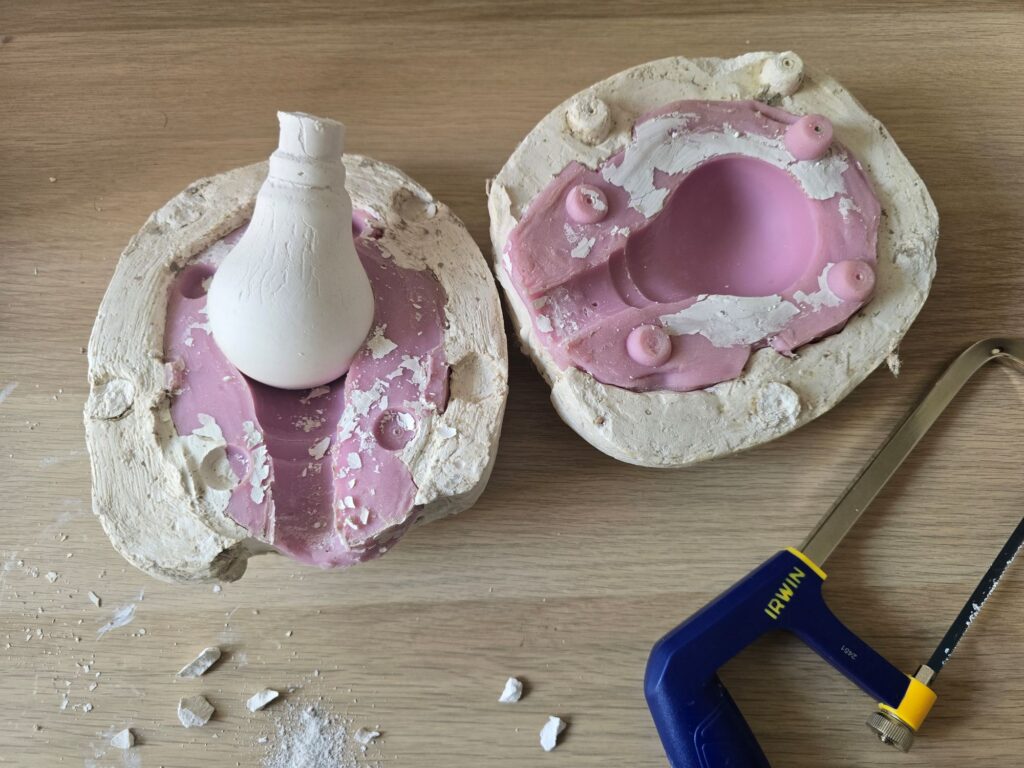
I first waited around a month for the cast to fully dry out. I sanded the lightbulb first so I could apply primer. For my next plaster cast I would use a less rough sandpaper and sand a bit more gently as I could see the marks on the bulb after. Then I painted the lightbulb and sprayed it with a clear lacquer. It was really fun learning these skills and I definitely see where I can utilise them in my upcoming projects.